Share This

This is a 3Ds Max tutorial in which we will see how to create a realistic grass. We will use a background in an environment. Single blade of grass is multiplied using scatter object. Sun will be created using lens flare.
Step 1
In first step we will first choose a sky dome for a background.
To add sky in a background
- Click on Rendering -> Environment
- Go to Parameters and click on “None”
- Click on Bitmap and browse your image.
When you render the background will appear in a scene.
Step 2
1. In second step we will create a hilly terrain.
- Go to the top view and create a plane.
- Go to Modify panel and set the length and width of a plane
- Add 100 length and width segments
2. Select a plane and add a bend modifier to it
- Set Angle to 80 , Direction value to 90 and Bend Axis to Y axis.
Again Select the Plane and add Wave Modifier to it and set the wavelength to 125
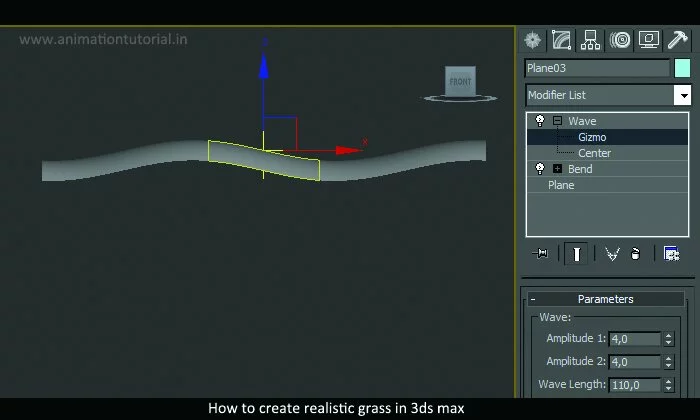
Wave Modifier 3dsmax

Plane Bend Modifier
Step 3
In this step we will create a grass stem.
we will create one grass stem and then multiply it with the help of scatter object.
Create a rectangle using Spline tool
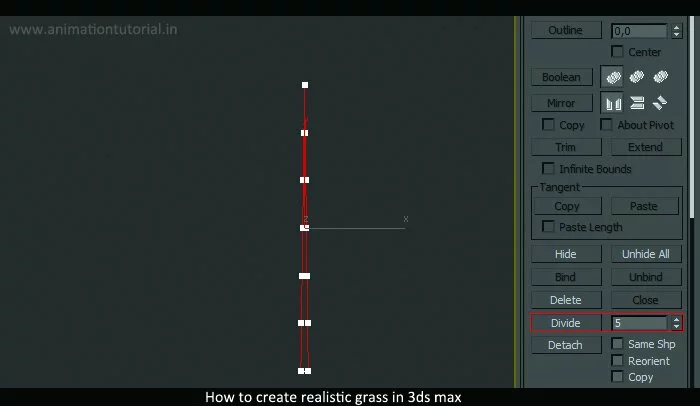
Edit Poly 3ds max
Use a line tool to draw a big triangle inside the rectangle. Divide the line into five parts.
Now add a bend modifier and set angle to 58 and Bend axis to Y
Step 4
Now let us create a scatter object. Select the stem of grass that we created. Click on Create Panel -> Compound Objects-> Scatter.
Pick the object you want to scatter on. In our case it is the terrain that we had created.
Scatter Object. Set the value to 20,000. Set the value of perpendicular to off.
Step 5
In this step we will do the texturing part of the scene. We will create and apply the materials to both grass and terrain.
Open the material editor. Select the object and assign the new material to them.
Make sure you keep the 2-sided to ON
Diffuse color – Green
Specular Level = 30
Set glossiness to 0
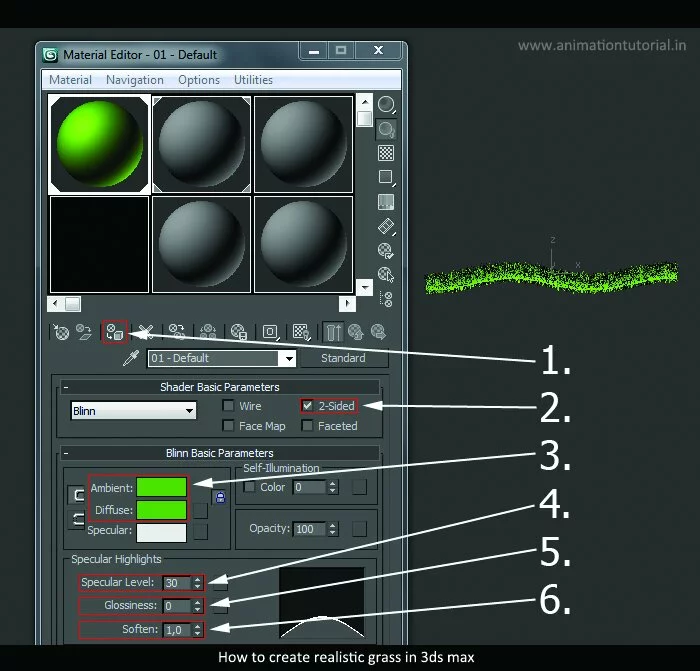
Grass Material 3ds max
We will now add a camera in the top viewport and place it according to picture below. Press C to switch to camera view.
Step 6
In this step we will light the scene. We will create a sun
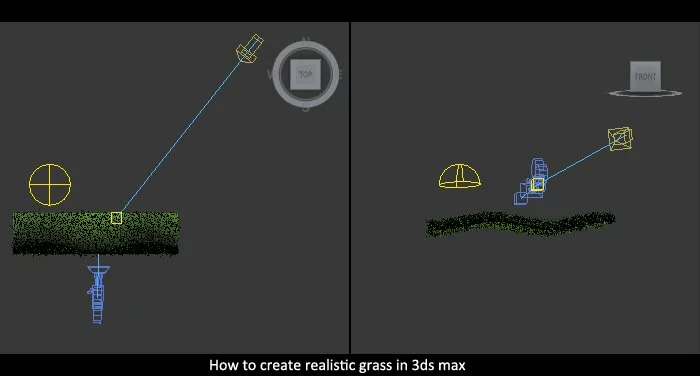
Camera Light Setup 3dsmax
Add an Omni Light to the Scene. Exclude every geometry from illumination.
Now is time to create the sun.
Add Lens Effects to the Omni light
Open effect panel and click on Rendering -> Effects
Click add button and choose Lens Effects from the list. click OK
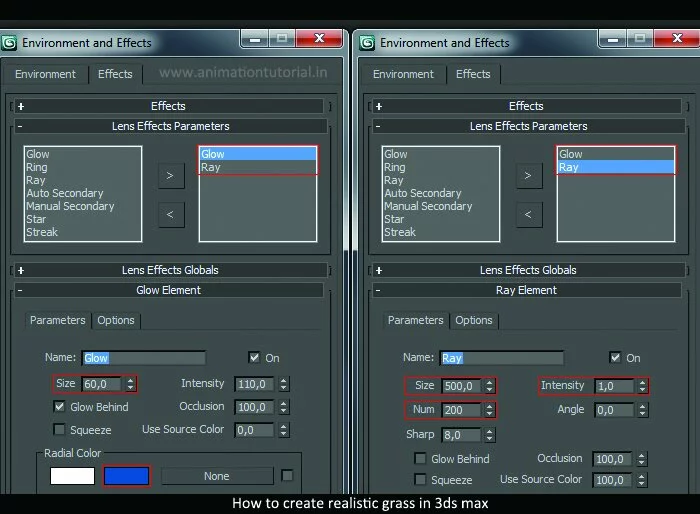
Lens Effect 3ds Max
Render your grasslands and you’ll see the shining sun!
Add a skylight for Overall Illumination.
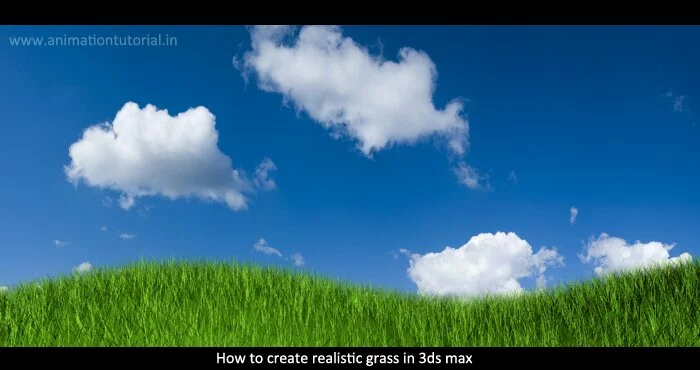
Final Output


Leave a Reply Cancel reply